Tuesday, July 16, 2013

Accordion Fold Book with Pockets

Hi Everyone!

A big thank you to Chris Klein for the great demonstration of the Accordion Book with Pockets on Saturday.  It was very easy and fun to make, with a lot of possibilities for creative expression.

For those who were not able to join us, I'm posting the instructions with photos, below.  We created two books.

3" x 4" Accordion Fold Book with Pockets (The pockets fit a standard ATC card.)

Paper - 5 1/2" x 22"
Cover - 4" x 6 1/2"
Ribbon - 18" (optional if you want tie close)

1.  Score the paper horizontally 1 3/4" from the bottom edge.  Make sure this is creased well, it will become the pockets.


2.  Flip the paper over, so the fold is away from you, and "hamburger" fold the paper in half.  (A "hamburger" fold looks like a hamburger bun.  It is side to side fold.  The other is a "hot dog" fold, which looks like a hot dog bun, and is top to bottom.)


3. Open the folded paper and make a another fold by taking the edge of one side to the center fold.  Open again and bring that fold to the center.  Essentially you are folding the paper in half, then folding one half in half and folding each of those halves in half.  It will look something like this:


4.  You will need to do the same thing on the other side.  So that when the entire paper is folded it will look like this:


5.  Glue or tape the edges of the first and last pockets.  

For the cover:

You can just glue the cover to the first and last pages, to have a soft bound book.  Chris recommended using Yes Paste:


If you would like to have a ribbon tied book, you will need to first make slits in the cover.


Hopefully, you can see mine.  There is one in the middle and one near the edge.  Where you put the slits will determine how the ribbon will tie your book closed.

After you have your slits, insert your ribbon and then you'll be ready to glue.


Chris did give a helpful suggestion of using pieces of wax paper when putting the glue on to help prevent the glue from going on the other pages:


Here is my finished book:


Our second book was folded the same way.  We did cut a decorative border along the edge the pockets.    This was done after step 1, before folding the pages.


For our second book we did not include the ribbon, so it would open up and fan out.  


 Another idea was to add color to the edge of the pockets and the cover.


Or to add ribbons to the covers to create a closed accordion.


Chris will be teaching another book at our next meeting August 10th.  I will be giving supplies and examples of the book in next weeks blog.

Thanks again Chris, they were a great book forms to learn!


Quote of the Week:  "Learning never exhausts the mind." - Leonardo da Vinci

Monday, June 17, 2013

Accordion "Un" stitched Bound Book

Thank you to everyone who came to the meeting on Saturday.  It was a lot of fun with such a good sized crowd.  A really big Thank You to Nancy Lohmiller for the demonstration and supplies.  This is a fun book to do, very simple, and not too complicated, once you figure out the measuring.

For those of you who weren't able to attend, below are the directions for making the book, along with some of my photos.  (My camera's battery ran out before I could get great pictures, but hopefully they will help somewhat.)


Accordion ‘un’ stitched Bound Book

The directions are for a 5" x 6" book, with 8 pages with .5 binding

1.   Start by cutting a paper size - 42 x 6 inch


Mark off pages - (See diagram above.)

a. Make first marking 5 inches, this will be the back page of the book.
b. 2nd mark is the .5 from first.  This will be the binding.
c. The rest of pages are all marked at the 5 inch. 

d. There will have an extra 1.5 inches - this can be cut off before folding.
                                                  Final size - 40.5


                                                  Create folds at marks

*NOTE - Using a bone folder will help maintain sharp edges.
2. Fold #1, #2 and #3 (the cover, back and binding folds) all fold the same direction, inward. 
3. Fold # 4 begins the accordion fold. It folds the opposite direction from fold #3.
4. This point on each fold will fold in the opposite direction from the previous.


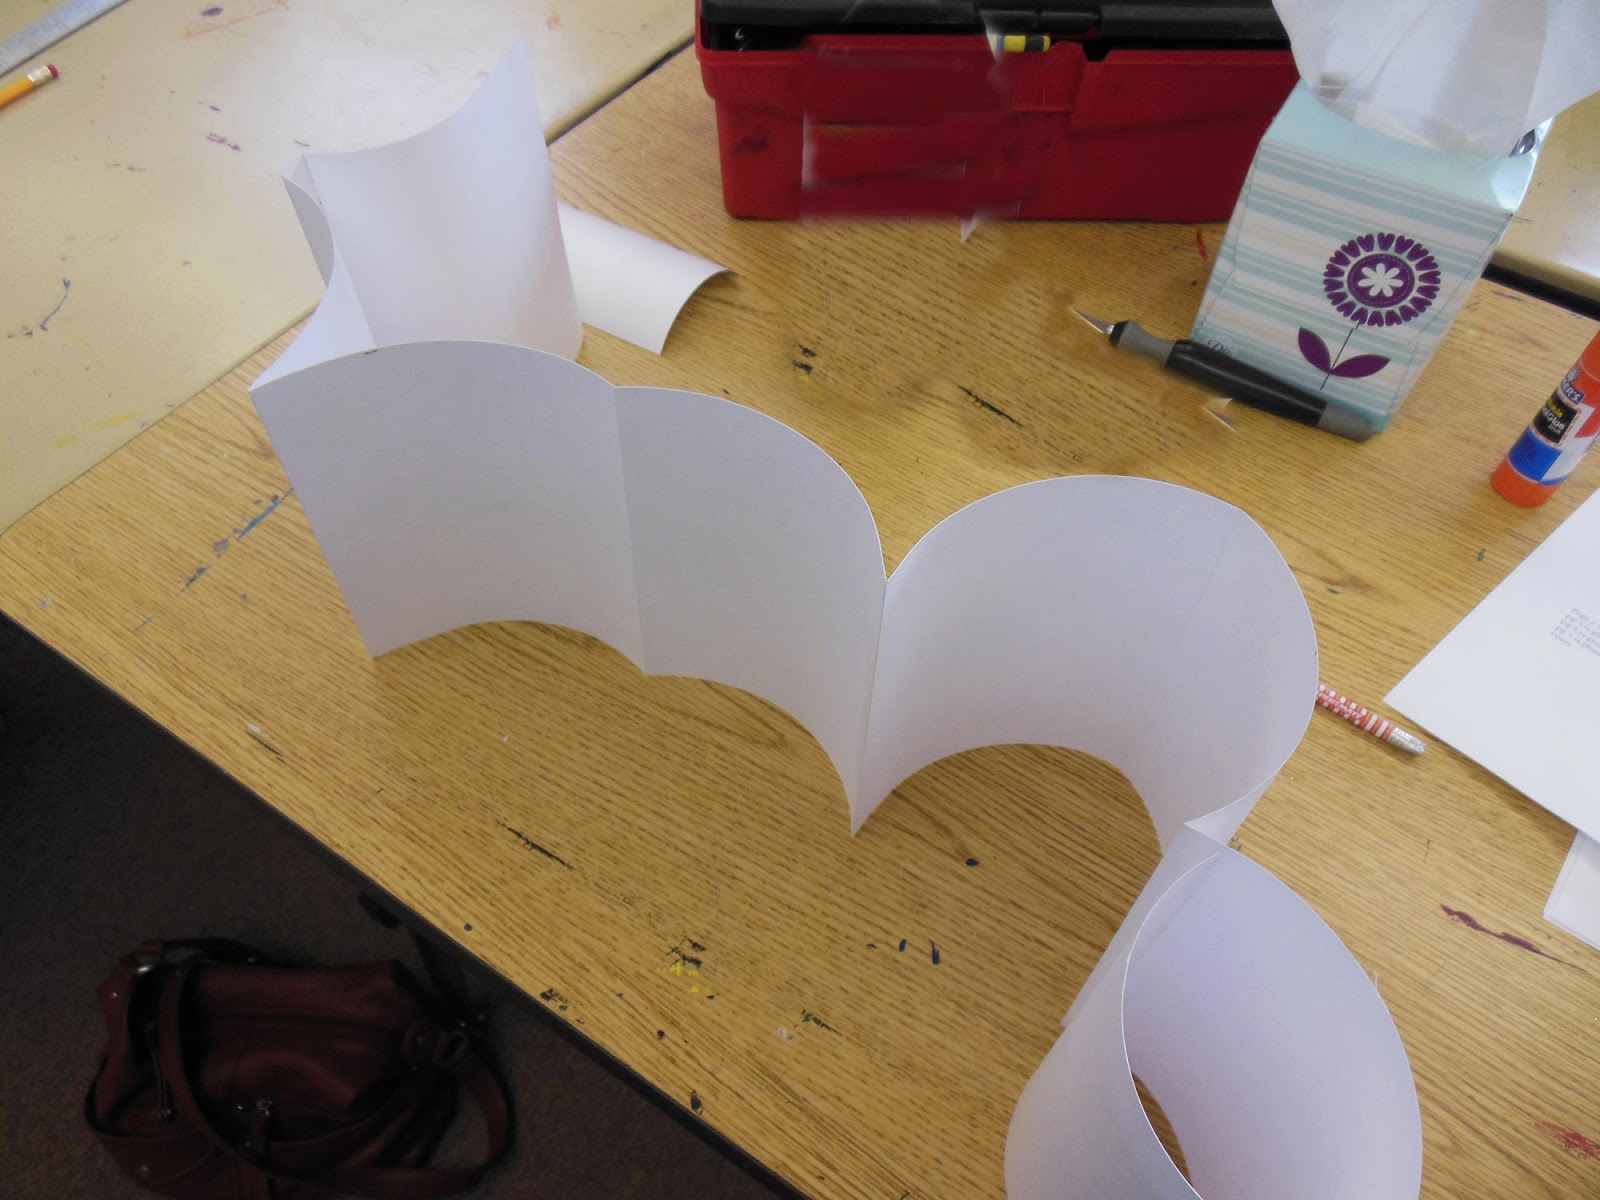
Here is what it should look like folded.  This is a bit curled because the paper was from a roll.


                                                    Glueing book


5.               Pg 2 to the cover
                  Pg 3 to pg 4
                  Pg 5 to pg 6
                  Pg 7 to the back (pg8)


6. Pages need to be pressed after glue is set. Place between a stack of heavy objects. Important to put book in a clean sheet of paper to protect any art work.


Helpful Tips
a. You need an even number of pages for the book to come out even.
b. Binding width will depend on thickness of paper and content of book.
c. If using smaller paper sizes such as 11x17, can successfully connect by adjusting with an

additional .5 to 1in hem. This will be hidden after pages are glued together. 
d. Can adjust to as many pages as are needed. Will need to adjust binding to
accommodate the extra pages.
e. Can print images right on the paper or can collage after basic form is created. 

f. Working options
• Flat and then fold.
• Working individual pages. 


Here is my mostly finished book.  I'm showing two views so you can have some idea of how many pages there are.  (please excuse my messy table:))


If anyone is interested in seeing more photos from the day, check out Carolyn's flickr account - 
http://www.flickr.com/photos/vintagepix/sets/72157604596043683

Our next meeting is July 13th, from 10am - Noon.  Christine will be demonstrating.  More info. on what will be need in later blogs.

Have a wonderful, creative week!


Quote of the Week:  "I'd rather be a failure at something I love than a success at something I hate."-             
                                  George Burns


Sunday, March 17, 2013

ABC Book

abcdefghijklmnopqrstuvwxyz


One of the current projects we are working on, is to create an ABC Book.  There is no limitation of the media, size or construction.  It's main subject just needs to be the alphabet.  (There is also no specification on the type of alphabet, so if you would like to do the Greek, Roman, Hebrew, etc. feel free.)

Inspiration for this project can come from many sources.  Check out our new board on Pinterest to help get those creative juices flowing.  (Just type Binders Guild in search and our board should come up.)  There are many great examples of ABC books to look at.

Quote of the Week:  "You can't use up creativity.  The more you use, the more you have." 
                                                                   - Maya Angelou

Sunday, March 10, 2013

WELCOME

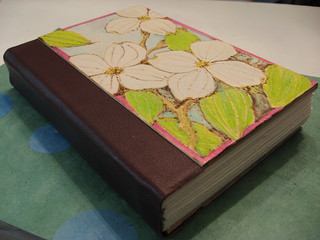
                                                "Wycinanki" - Sheila Lewandowski, 2010


Welcome to the Binders Guild Blog Spot.  We are starting the year off by creating energy for the Guild's up and coming show in 2014.   We are very excited about the new opportunity to showcase our work.  Stay tune for more....

                                                        Untitled - Carolyn Brady, 2010